Table of Contents
Skylight Definition
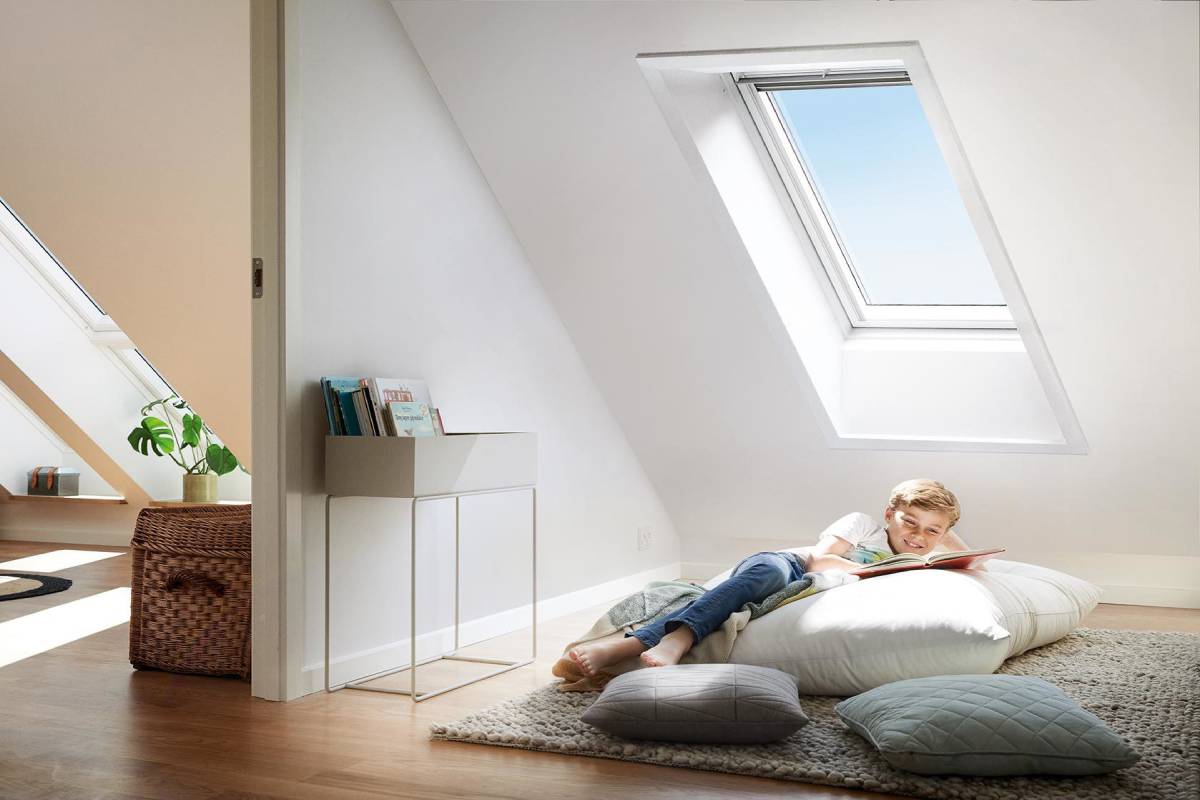
Skylight is a window or span located in the roof or the top of a wall used to provide light to a room.
When located on a roof, the lighting is much superior to that of a window. Despite being generally small and encompassing, space through which a person can pass with difficulty.
It illuminates more than a regular window and ventilates the environment. When we speak of a skylight in a Gothic nave, we can use the term clerestory.
Other systems, such as light tubes, allow sunlight to bring into rooms – that are not located just under the ceiling.
How to Seal a Leaky Skylight Window?
A leaky skylight window is no joke. In addition to the water entering the home and all over the floor, there also add stress on the ceiling and walls, the possibility of mould. Please refer to the steps below to find the leak and resolve it as soon as possible.
Note: Before repairing the leak, you should verify that it is not just condensation. This frequently occurs in rooms like kitchens or bathrooms or colder weather conditions or climates, especially where the skylight window is just a single pane glass installation.
If the leak only occurs at certain times of the year, the cause might not be the window itself. It could be because ice or snow prevents water from draining through the roof and causing it to run under the shingles around the skylight during winter.
Step 1 – Inspect the Skylight
- After inspecting the interior of the skylight, use a ladder to climb the roof and check the exterior.
- Move the leaves and debris from around the window, and once it is clear, check for cracks in the cover and observe the weathering layer (it should be firm and without signs of damages).
- After that, watch the flashing for raised or torn seams and small holes. Finally, see if there are any raised or missing shingles around the perimeter.
Step 2 – Replace the Weatherstrip
- Unscrew the fasteners holding the skylight window cover with a suitable size driver. Then lift it and set it aside.
- Using a scraper, slowly peel off the weather protection layer around the skylight cover and sidewalk.
- Take a moment to seal any complaints you find on the outside with the clear silicone caulk.
- Run a bead across the entire crack and then spread it evenly with your fingertip.
- Next, lay new weather coats on the skylight window curb. Start on the downward slope and push firmly around the edge to secure it in place.
Step 3 – Apply Tar
- Contact a pair of thick work gloves to protect your hands and spread the roof tar around the sidewalk of the window with the trowel.
- When you do this, be sure to cover the exterior walls of the skylight, paying particular attention to the corners or any holes in the metal or wood.
- It would help if you spread the tar about eight inches in all directions, taking care to lift loose shingles and put tar underneath to glue them together.
- The roofing tar should also run around the top of the shingles.
Step 4 – Finish
- Run a drop of clear silicone caulk it sits between the weatherstrip and the outside of the curb. Now, I’ll put the skylight cover back on the window.
- Before replacing the screws, apply a bead of silicone to each of the screw holes. Replace the screws, but be cautious not to overtighten them.
- Add additional caulk over the screw heads and rub some cracks on the outside of the cover.
- These steps should fix any leaks from your skylight window. However, while on the roof, you should also inspect the entire assembly for any other damage and do any repair work before problems progressively get worse.
Installation of Skylight on Roofs
The characteristics of the building and purpose to achieve with the skylight installation recommend choosing specific models over others.
1. Fixed Skylights
- As the name suggests, they are fixed devices that provide light but no ventilation.
- They can be installed on any roof to bring additional natural light to the house.
- Its price depends on the type of skylight. The cost of a single valve 50×50 skylight is € 100, and the price of a double dome skylight.
2. Skylight with Telescopic Control
- This type allows a much larger opening space than other skylights, up to 85% more.
- In addition to natural lighting, it is also very suitable for outdoor ventilation.
- They can also directly access the roof and deck.
3. Skylight with Electric Opening
- These are automatic and allow remote opening and closing using electronic controls. Especially suitable for high ceilings and areas with difficult access.
- The price of a 50×50 single valve remote-controlled skylight and the cost of a double dome skylight.
4. Shaft Opening Skylight
- Use a switch connected to an internal mechanism (similar to electric blinds or awnings) to open the skylight from a distance comfortably.
- Compared to the telescoping skylight, the opening it provides is limited, and its price won’t change much—the average cost of a spindle opening skylight.
5. Automatic Smoke Skylight
- They widely used in large spaces, such as shopping centres, homes and industrial buildings. They have a built-in system to detect the internal temperature of the system.
- Therefore, when the temperature exceeds the maximum set temperature, it will open automatically to prevent smoke from building up in case of fire. Its cost depends on the size but starts at € 800 (not including installation costs).
- Therefore, with all this information, we can establish that the average price of placing skylights on the roof is € 250, with separate installation costs.
- The price of labour will depend on the type of roof and the difficulty of the job.
- These steps should fix any leaks from your window.
- However, while on the roof, you should also inspect the entire assembly for any other damage and do any repair work before problems progressively get worse.